
To access your Seating Chart, click the Attendance Quick Access Button on the Navigation Bar.
The Attendance Page will appear.
Note: If a seating chart has not been defined, the students will display alphabetically. The students will display in 5 columns and as many rows as necessary to display the applicable students for the specified date as seen above.
Use the Period Slider to select the Period for which you would like to record attendance. The Period selected is highlighted by a black box.
![]()
Note: The Application will default to the last Period that was chosen when previously working in the Application.
Now, click
the  Button.
The Define Seating Chart Page will appear.
Select
the number of Rows and Columns you would like to have for the Seating
Chart using the up and down arrows. 
For this example, we will use 4 Rows and 6 Columns.
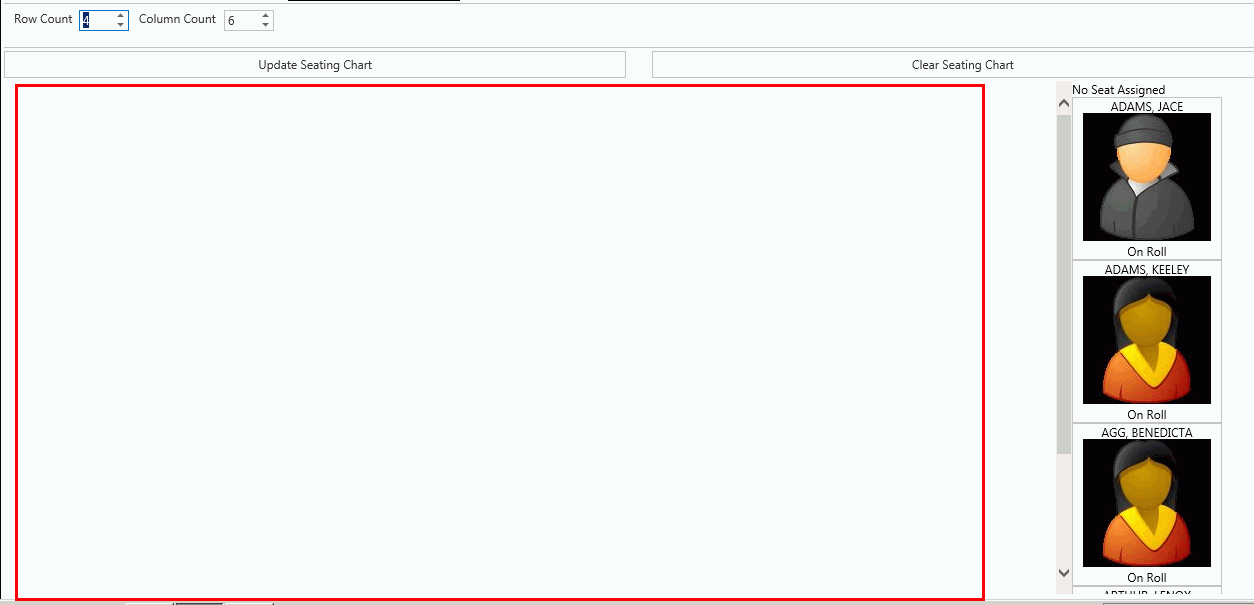
Notice the Seating Chart Area now reflects the number of Rows and Columns we have set.
The Students are displayed in alphabetical order in the No Seat Assigned Column.
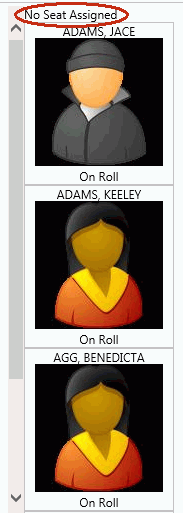
Note: Students enrolled in the Section on the last day of the Session that are on-roll or suspended are available for the Seating Chart arrangement.
Notice the status label below the students' images.
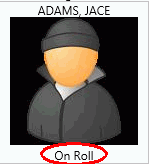
This is where you can view if the student is on-roll or suspended.
To assign a student to a seat, left click on the student's picture. Hold down the mouse and drag the student to the appropriate seat, and then release the mouse to drop the student.
Repeat the drag and drop process until all students are assigned in the Seating Chart.
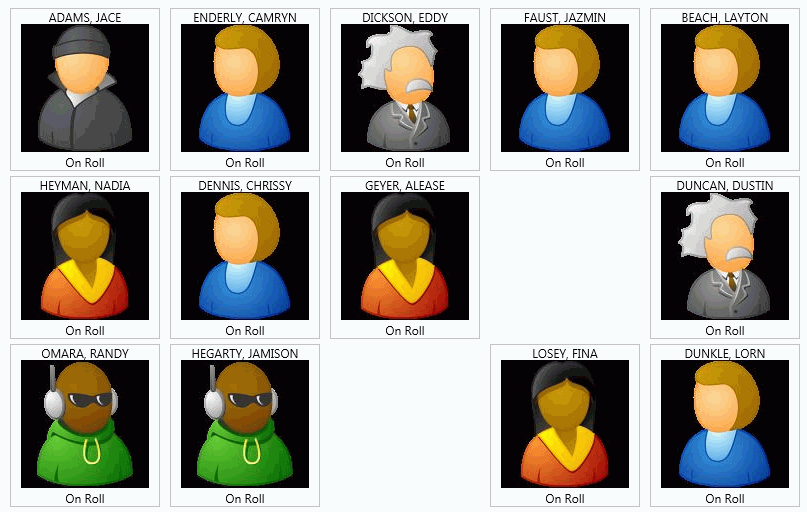
Once you have completed the Seating Chart,
click the  Button to save the changes.
If you would like to clear the Seating
Chart Area, remove any assigned seats, and set the row or column count
to default values, click the ![]() Button.
Button.